tse-logo-svg
  • SOLIDWORKS
    • CAD/Design/Engineering
    • Electrical
    • Management/Collaboration
      • SOLIDWORKS Data Management
    • Simulation
      • SOLIDWORKS Simulation
      • SOLIDWORKS Flow Simulation
      • SOLIDWORKS Plastics
    • Technical Communication
      • SOLIDWORKS Composer
      • SOLIDWORKS Inspection
      • SOLIDWORKS MBD
      • SOLIDWORKS Visualize
    • 3DEXPERIENCE Works
      • Design
        • 3DEXPERIENCE SOLIDWORKS
        • 3D Creator
        • 3D Sculptor
        • 3D SheetMetal Creator
        • 3D Mold Creator
        • 3D Structure Creator
        • Manufacturing Definition Creator
      • Data Management/Collaboration
        • Collaborative Designer
        • 3DSwymer
        • Collaborative Industry Innovator
        • Social Business Analyst
        • Project Planner
      • Simulation
  • 3D Printing & Scanning
    • Artec
      • Artec Spider II
      • Artec Leo
      • Artec Ray II
      • Artec Point
      • Artec Micro II
      • Artec Eva
      • Artec Studio 19
    • Geomagic
    • Markforged
      • Desktop Composite 3D Printers
        • Mark Two
        • Onyx Pro
        • Onyx One
      • Industrial Composite 3D Printers
        • FX20
        • X7
        • X3
      • Metal 3D Printer
  • Training
    • Full Training Schedule
    • CAD
      • SOLIDWORKS Essentials
      • SOLIWORKS Advanced
      • Advanced Surface Modeling
    • Simulation
      • SOLIDWORKS Simulation
    • eCourses
    • Webinars
  • Support
  • Resources
    • Contact Us
    • About Us
    • SolidAdvice Blog

Smartcut: Using Power Select in Simulation

By The SolidExperts Marketing
December 09, 2014

I recently was working on a somewhat complex model from a customer in Simulation, and I used the Power Select tool in SOLIDWORKS to help make the job easier. Here’s a cut view of an example model so that you can see all the small faces where I needed to apply a pressure loading, and hopefully you can imagine the task of having to make sure all of them were properly selected in the Simulation load dialog box. This is where I remembered the ability of the Power Select tool to get features based on color.

valve colored faces

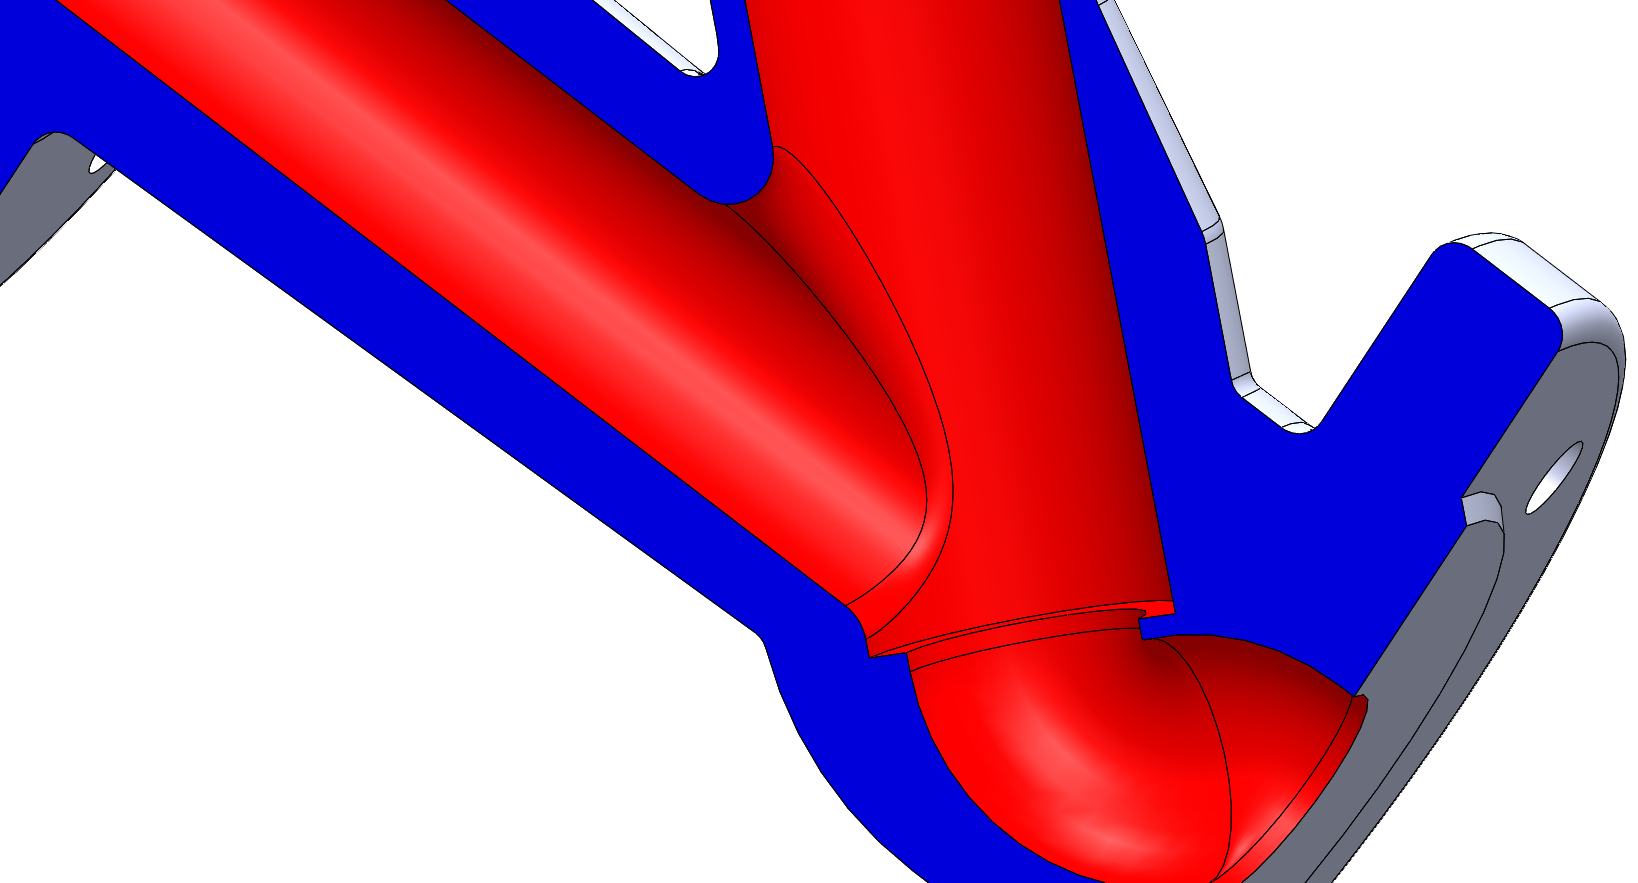
So I systematically made several different selections of faces (of course also using the face filter tool) and colored them a nice Red color indicating where the pressure was to be applied. This made the task of making sure all of the required faces were grabbed since I could clearly see whether they were red or white; this was the the case for very small faces that were areas of a fillet feature.

After I was assured that I had all the faces I needed, then I invoked the Power Select tool from the drop down menu of the selection Arrow.

Power select from arrow drop down

Then in the Power Select dialog, I chose to select only Faces, and filter them only by Face Color. Hitting the “Search” button then instantly found the 127 faces!

power select dialog box

pow_sel results and close

Upon hitting the Close button, I had all the faces pre-selected for me to apply the Pressure loading in Simulation with the confidence that I knew that I had everything.

I’m also loving the Selection Sets functionality in SOLIDWORKS 2015 in all the Simulation products. It is better to do things smarter than harder… what is called a smartcut!

Original post written by By Joe Galliera, Senior Simulation Technical Manager , East area at DS SOLIDWORKS
All posts
About Author
The SolidExperts Marketing

SUBMIT YOUR COMMENT
Subscribe

Subscribe to our newsletter & stay updated

tse-logo-white
Products
  • SOLIDWORKS
  • Artec
Training
  • Full Training Schedule
  • eCourses
Resources
  • Support
  • Contact Us
  • About Us
  • SolidAdvice Blogs

©2025. The SolidExperts All rights reserved