The SOLIDWORKS Simulation Application Programming Interface (API) functionality can be used to automate the creation of studies, applying loads and fixtures, material selection, meshing, running analyses and processing results. The API provides a powerful platform for automation as well as productivity gains for any user who needs to build custom inputs or outputs to drive Simulation studies or has to work past user interface limitations.
The API contains functions that can be called from Visual Basic for Applications (VBA), VB.NET, C++ 6.0, C++.NET, and C#.NET. While knowledge of any above programming languages will help; my goal in this article is to provide you with a self-training excel automation file and a sample SOLIDWORKS part file. Before I walk you through the steps for using the attached files, here are some practical applications of the API.
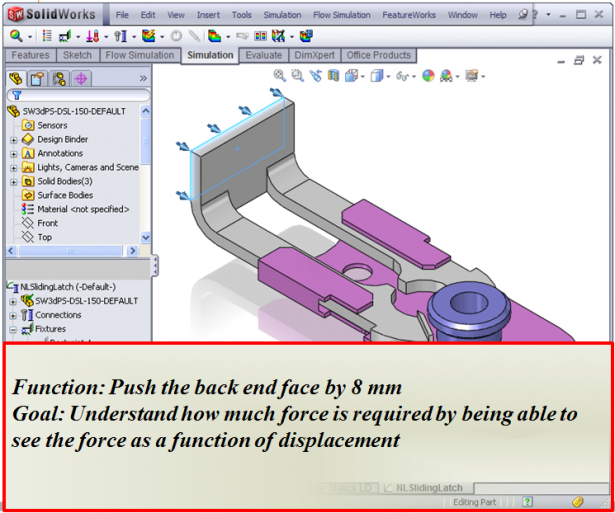
In the example below of a nonlinear analysis to simulate the push and snap operation of a latch mechanism, manually transferring the data of displacement and reaction force for each time step takes roughly about 20 minutes.
Using the Simulation API macro, this takes less than a minute to complete with further customization of data in excel and auto creation of XY plots!
The same API macro works on 2D simplification problems as well. In the below video of a 2D snap fit assembly analysis, the relationship of force required to snap through versus the vertical push distance that is needed to understand the stiffness variation in the system. The API macro takes less than 10 seconds to extract all the required data and create an excel file with XY plots.
Another example shown in the below mast structure requires a custom output as per a standard specification used for structural members or beams. The design specification requires an output of effective beam lengths and beam K factors, and also needs the list of end connection conditions for each structural member. The image below shows how the end connections drive the effective beam lengths.
The final output that a designer needs to create as part of the design review process looks like below.
The following video illustrates how the Simulation API can be used to create very specific outputs as per the customer requirements very easily in a short time.
There are basic API codes / calls as shown above that help establish access to a simulation study. This is the fundamental building block for everything you can control within simulation such as creating a study, controlling material choices, applying loads / fixtures / connectors on desired geometry, mesh settings, processing results etc.
Now, we’ll go over an example to get hands on with the API. Here are the instructions you should follow: Download the files contained in the first bullet below by clicking on “SimAPIs”. The filed named ‘EndLink.sldprt’ is the 3D CAD Model that we will use in this example. The file called ‘ExcelToSim_Labs.xls’ is the excel file for the APIs. Note that the SOLIDWORKS 2015 release is required.
- Download files: SimAPIs
- Launch SOLIDWORKS.
- Open the file called “EndLink.sldprt”.
- Ensure SOLIDWORKS Simulation is checked / added in SOLIDWORKS. Delete any Simulation studies that may exist in the model.
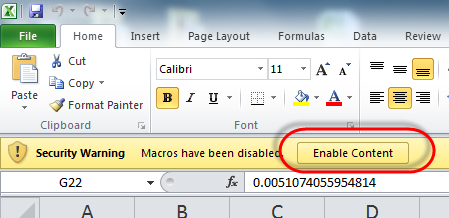
- Open the excel file. If you get a security warning message, simply click on “Enable Content”.
- Ensure that you have the SOLIDWORKS Window and the Excel window side by side.
- In excel, click the “Create a Study” button. This should create a study named “Strength” in SOLIDWORKS.
- Next click “Assign Material” button. The API macro is programmed to apply a 1060 Alloy.
- Click on the remaining buttons in excel, one at a time and notice how the fixture, load, mesh and the run is automated.
- Finally click on the button “Get Results” to automatically extract the maximum stress and displacement in the model.
Review the few lines of code used when each of the buttons in excel is clicked. This should help you get familiar with the API needed to automate the most common tasks.
Next try something more fun by executing the process on your own models. Good luck!
By Ramesh Lakshmipathy


SUBMIT YOUR COMMENT